Starting your cooking journey can feel overwhelming. You open a recipe and see words like “sauté,” “julienne,” or “fold.” What do they mean? Don’t worry. This guide breaks down the most common cooking terms in simple language. By the end, you’ll read recipes with confidence and cook like a pro.
Basic Cooking Methods
1. Baking
Cooking food in an oven using dry heat. You bake bread, cookies, and casseroles. The heat surrounds the food evenly. Set your oven to the right temperature before putting food inside.
2. Boiling
Cooking food in bubbling water at 212°F (100°C). You’ll see big bubbles breaking the water’s surface. Use this method for pasta, potatoes, and eggs.
3. Simmering
Using gentler heat than boiling. The water has small bubbles but doesn’t bubble hard. This works well for soups, sauces, and rice. Turn down the heat after water boils to get a simmer.
4. Sautéing
Cooking food quickly in a small amount of oil or butter over medium-high heat. The pan should be hot before adding food. Stir or toss the food often. This method works great for vegetables and small pieces of meat.
5. Frying
Cooking food in hot oil. Shallow frying uses a little oil in a pan. Deep frying covers food completely in hot oil. Both methods create crispy, golden results.
6. Grilling
Cooking food over direct heat, usually on metal grates. You can grill outdoors on a barbecue or indoors on a grill pan. The high heat creates nice char marks and smoky flavors.
7. Roasting
Using dry heat in an oven, similar to baking. But roasting usually means cooking larger items like whole chickens, beef roasts, or vegetables at higher temperatures.
8. Steaming
Cooking food using hot steam from boiling water. The food sits above the water, not in it. This gentle method keeps vegetables crisp and bright.
9. Braising
Combining wet and dry heat. First, you brown the food in a pan. Then you add liquid and cook it slowly in a covered pot. This method makes tough meats tender.
Cutting and Prep Terms
10. Chopping
Cutting food into pieces. The size can vary, but pieces are usually bigger than diced food. Don’t worry about making perfect shapes.
11. Dicing
Creating small, even cubes of food. Small dice is about 1/4 inch. Medium dice is 1/2 inch. Large dice is 3/4 inch. Even sizes help food cook evenly.
12. Mincing
Making very tiny pieces, smaller than diced. You often mince garlic, ginger, or herbs. A sharp knife makes this easier.
13. Slicing
Cutting food into thin, flat pieces. You can slice bread, tomatoes, or onions. Keep your fingers tucked under for safety.
14. Julienne
Creating thin, matchstick-shaped pieces. These are about 1/8 inch thick and 2 inches long. This cut works well for vegetables in stir-fries.
15. Chiffonade
A way to cut leafy greens or herbs. Stack the leaves, roll them tightly, then slice across the roll. This creates thin ribbons.
16. Peeling
Removing the outer skin or layer from fruits and vegetables. Use a peeler for carrots or potatoes. Some foods, like garlic, you can peel with your fingers.
17. Grating
Using a grater to create small shreds or pieces. You can grate cheese, lemon zest, or ginger. Different sized holes create different textures.
Mixing and Combining Terms
18. Mixing
Combining ingredients together. Use a spoon, whisk, or your hands. Mix until everything is evenly distributed.
19. Stirring
Moving ingredients in a circular motion with a spoon or spatula. This prevents sticking and combines flavors.
20. Whisking
Using a wire whisk to beat ingredients. This adds air and creates smooth textures. Whisk eggs, cream, or salad dressings.
21. Folding
Gently combining ingredients without losing air. Use a spatula to cut down through the mixture, then fold it over. This works well with whipped cream or beaten egg whites.
22. Beating
Mixing ingredients vigorously to add air. You can beat with a whisk, fork, or electric mixer. This creates light, fluffy textures.
23. Creaming
Beating butter and sugar together until light and fluffy. This takes 3-5 minutes with an electric mixer. The mixture should look pale and airy.
24. Kneading
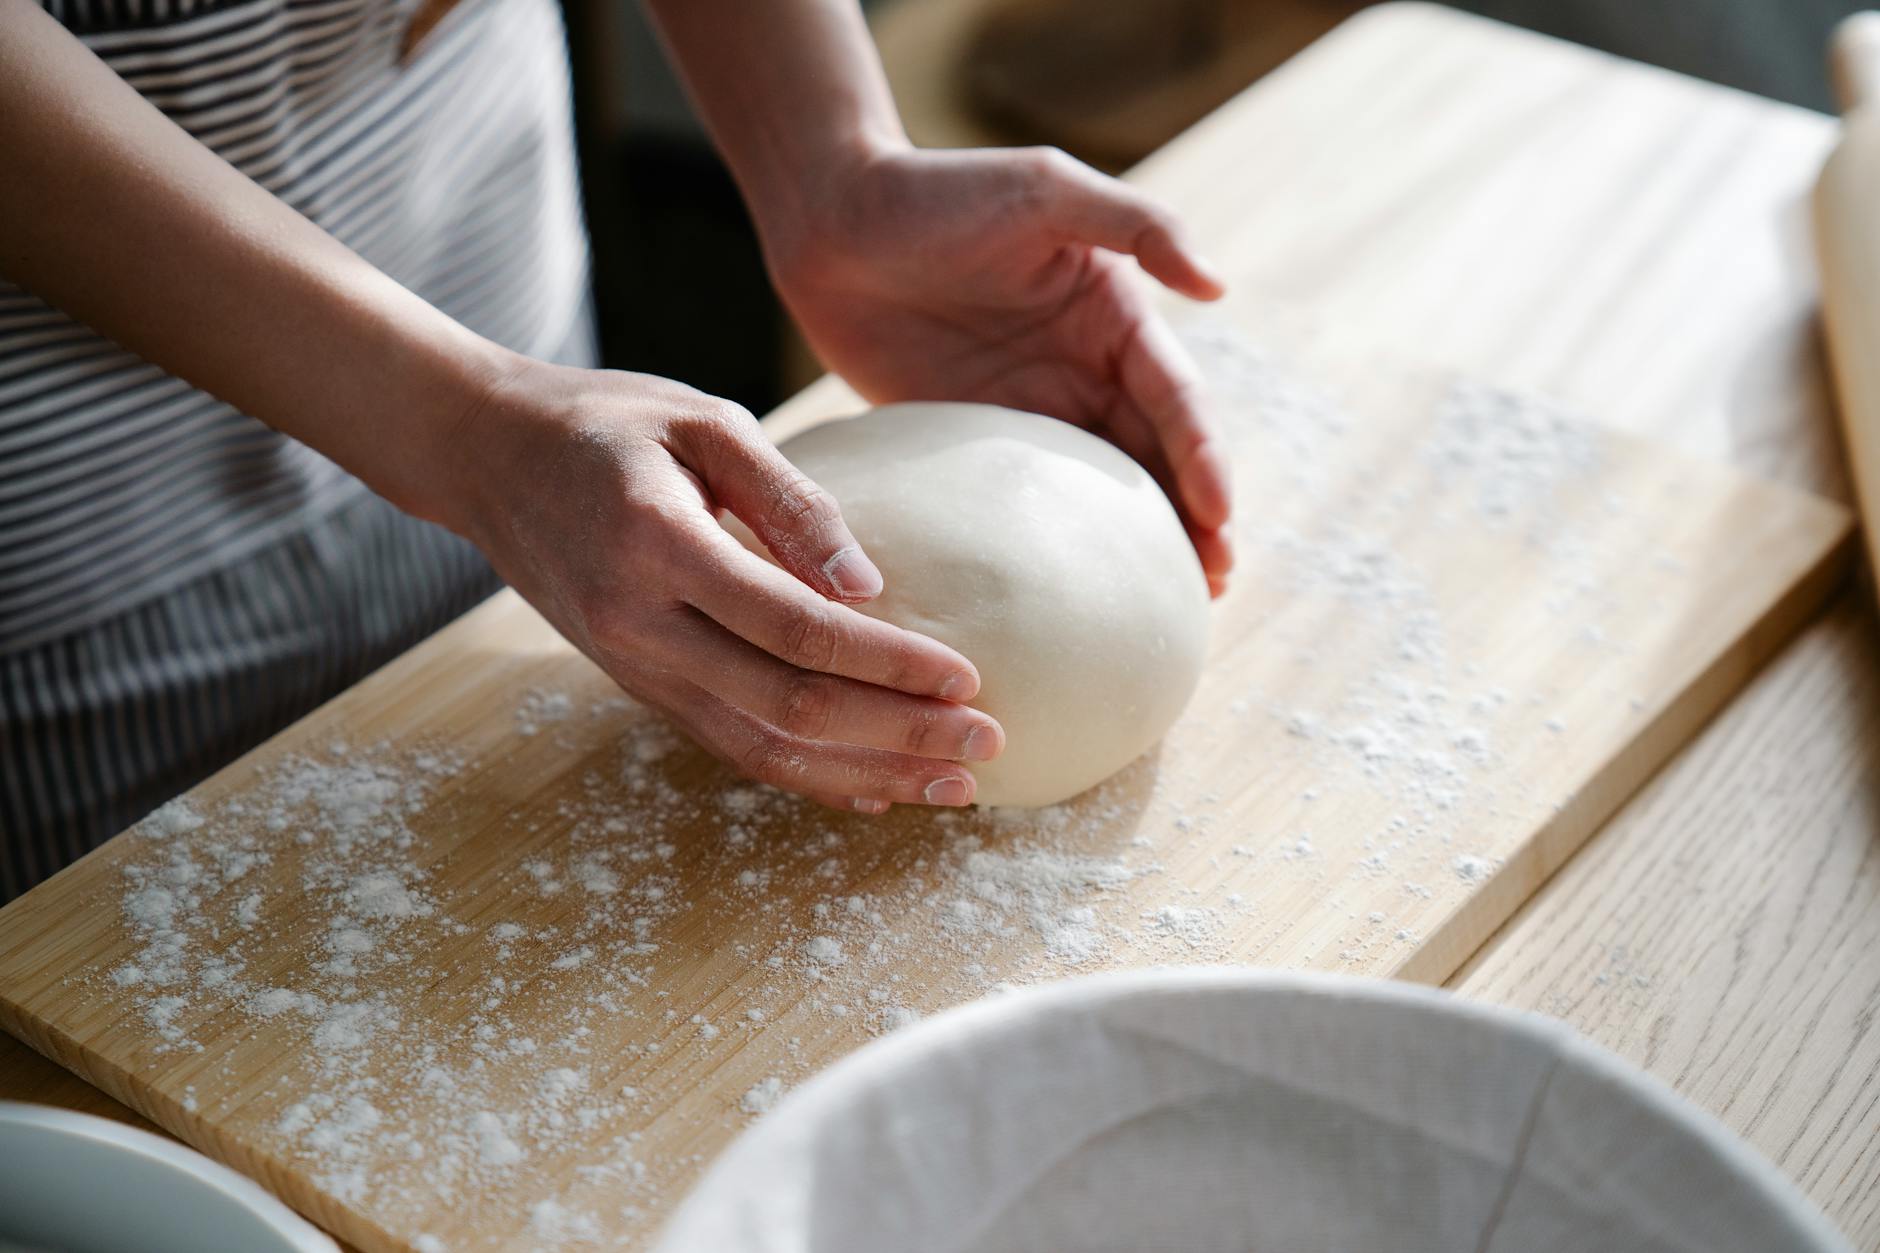
Working dough by pressing and folding it repeatedly. This develops gluten in bread dough. Knead on a floured surface for 8-10 minutes.
Temperature and Doneness Terms
25. Preheating
Heating your oven to the right temperature before cooking. Most ovens take 10-15 minutes to preheat. Wait for the indicator light or beep.
26. Room Temperature
Ingredients should be at the same temperature as your kitchen, not cold from the fridge. Take butter, eggs, or dairy out 30-60 minutes before cooking.
27. Al Dente
Pasta that’s cooked but still firm to the bite. It shouldn’t be mushy or hard. Taste a piece to check.
28. Tender
Food that is soft and easy to pierce with a fork. Vegetables should be tender but not mushy. Meat should be easy to cut.
29. Golden Brown
The color food should reach when properly cooked. Think of toast or baked cookies. This usually means good flavor development.
30. Caramelized
When sugars in food turn golden brown and develop sweet, complex flavors. Onions caramelize when cooked slowly until golden.
Seasoning and Flavoring Terms
31. Seasoning
Adding salt, pepper, herbs, or spices to enhance flavor. Taste as you cook and adjust seasoning as needed.
32. Marinating
Soaking food in a flavorful liquid before cooking. Marinades can include oil, acid (like lemon juice), and seasonings. This adds flavor and can make meat more tender.
33. Seasoning to Taste
Adding salt, pepper, or other seasonings until the food tastes good to you. Start with a little and add more as needed.
34. Zesting
Removing the colored outer layer of citrus fruits. Use a microplane or fine grater. Only take the colored part, not the white pith underneath.
35. Infusing
Adding flavor to liquids by steeping ingredients in them. You might infuse cream with vanilla or oil with herbs.
Measurement and Portion Terms
36. Pinch
A small amount you can pick up between your thumb and forefinger. This equals about 1/8 teaspoon.
37. Dash
Slightly more than a pinch, about 1/16 teaspoon. Use this for strong seasonings like hot sauce.
38. Dollop
A small spoonful or blob of soft food like sour cream, whipped cream, or mashed potatoes.
39. Handful
Roughly what you can hold in your cupped hand. For leafy greens, this is about 1-2 cups.
Cooking Equipment Terms
40. Double Boiler
A gentle way to heat delicate foods. Put water in the bottom pot and your food in the top pot. The steam heats the food without direct contact with the heat source.
41. Cast Iron
Heavy, durable pans that hold heat well. They’re great for searing meat or baking cornbread. Season them with oil to prevent rust.
42. Non-stick
Pans that have a coating to prevent food from sticking. Use wooden or plastic utensils to avoid scratching the surface.
43. Mandoline
A slicing tool that creates very thin, even slices. Use the safety guard to protect your fingers.
Advanced Techniques Made Simple
44. Deglazing
Capturing the flavorful brown bits stuck to your pan after cooking meat. Add liquid like wine or broth, then scrape up the bits with a wooden spoon.
45. Reducing
Concentrating flavors by simmering liquids until they cook down. The liquid becomes thicker and more intense in flavor.
46. Tempering
Gradually raising the temperature of eggs or other temperature-sensitive ingredients. Add hot liquid slowly while stirring to prevent curdling.
47. Resting
Letting cooked meat sit for 5-10 minutes before cutting. This helps juices redistribute, making the meat more tender and juicy.
Kitchen Safety Terms
48. Cross-contamination
When harmful bacteria spread from one food to another. Use separate cutting boards for raw meat and vegetables.
49. Food-safe Temperature
Temperature that ensures harmful bacteria are killed. Use a meat thermometer to check internal temperatures.
50. Mise en Place
A French term meaning “everything in its place.” Prepare and measure all ingredients before you start cooking.
Practical Tips for Success
Start with simple recipes that use familiar terms. As you cook more, you’ll naturally learn new techniques. Don’t be afraid to make mistakes – they’re part of learning.
Keep a sharp knife in your kitchen. It’s safer than a dull one and makes prep work easier. Learn proper knife grip and cutting techniques.
Taste your food as you cook. This helps you understand how flavors develop and when to adjust seasoning.
Read the entire recipe before starting. This prevents surprises and helps you plan your timing.
Clean as you go. This keeps your workspace organized and makes cleanup easier.
Trust your senses. Food should look, smell, and sound right. If something seems off, investigate before continuing.
Practice basic techniques like chopping onions or scrambling eggs. These skills transfer to many recipes.
Don’t be afraid to substitute ingredients based on what you have available. Cooking is flexible, and you’ll learn what works well together.
Start building a spice collection gradually. Buy small amounts of spices you’ll actually use rather than every spice at once.
Invest in a few quality tools: a sharp knife, cutting board, measuring cups, and a reliable pan. Good tools make cooking more enjoyable.
Remember that cooking is both art and science. Follow recipes when learning, but feel free to adjust flavors to your taste as you gain confidence.
The most important ingredient in any dish is patience. Take your time, enjoy the process, and celebrate your successes along the way.
Disclaimer: This guide provides general cooking information for educational purposes. Always follow food safety guidelines and use proper cooking temperatures to ensure food is safe to eat. Individual results may vary based on ingredients, equipment, and cooking experience.


